Hour-long podcast එකක් කැමරා 2–3කින් record කළාම, edit කරන්න මුළු දවසක්ම යනවා නේද? This guide shows a faster workflow for podcast editing in Premiere Pro, from organizing your footage to exporting Shorts. Beginners ට වගේම professional editors ලටත් මේ steps වැඩක් වෙනවා.
What you need before podcast editing in Premiere Pro
- Video files from each camera (for example, CAM A for the host and CAM B for the guest).
- Clean audio from a recorder or mixer, if you recorded separately.
- Graphics: logo, lower thirds, intro and outro.
- Enough storage: long 4K files are big, so use a fast SSD if possible.
Also, keep your Premiere Pro version updated. Newer versions have better audio tools and faster performance.
Step 1: Organize your project
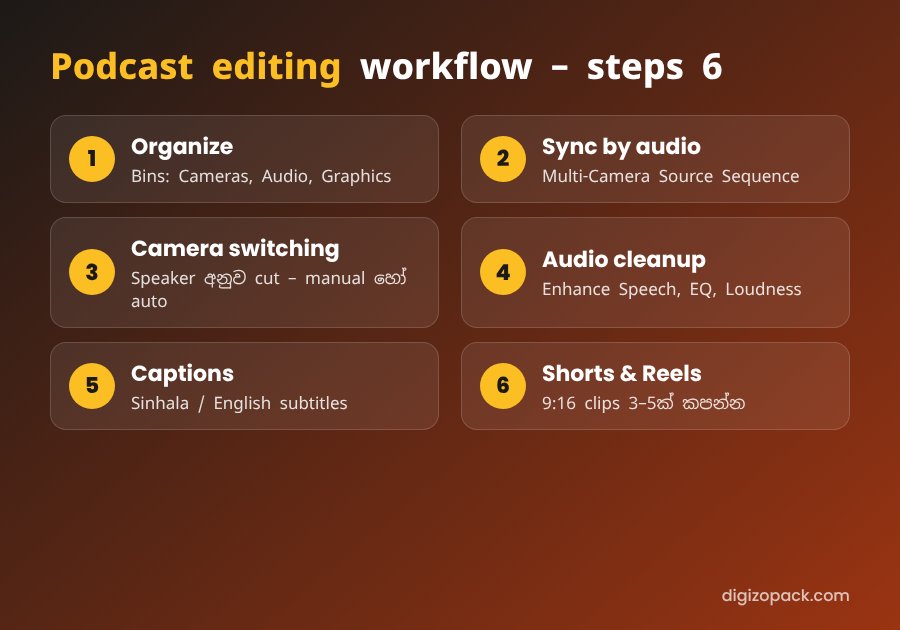
First, create bins: Cameras, Audio, Graphics and Music. Clips වලට පැහැදිලි නම් දාන්න, උදා: EP12_CAM-A_Host. This small habit saves a lot of searching later, especially when you edit many episodes.
Step 2: Sync the cameras with audio
- Select all the camera clips and the main audio file for one episode.
- Right-click and choose Create Multi-Camera Source Sequence.
- Under Synchronize Point, choose Audio. Premiere Pro matches the clips by their sound waves.
- Then right-click the new multicam clip and choose New Sequence From Clip.
Tip: clap once at the start of the recording. That sharp sound makes audio syncing much more accurate.
Step 3: Switch cameras to the person speaking
This is the slowest part of podcast editing in Premiere Pro. There are two ways to do it.
Manual camera switching
Open the Program Monitor menu and turn on Multi-Camera view. Next, play the sequence and press 1, 2 or 3 to cut to each camera. It works well, but you must watch the whole episode in real time. පැයක episode එකකට අඩුම තරමේ පැයක් ම යනවා, fixes එක්ක තවත් වැඩියි.
Automatic camera switching
The faster way is to let software detect who is speaking. Pod Edit is a Premiere Pro plugin that automates podcast camera switching. So instead of cutting every line, you only review the result and adjust a few cuts. Daily හෝ weekly podcast එකක් කරන අයට මේක ලොකු time saver එකක්.
Step 4: Clean up the podcast audio
Viewers forgive average video, but they leave quickly when the audio is bad. Therefore, spend time on this step.
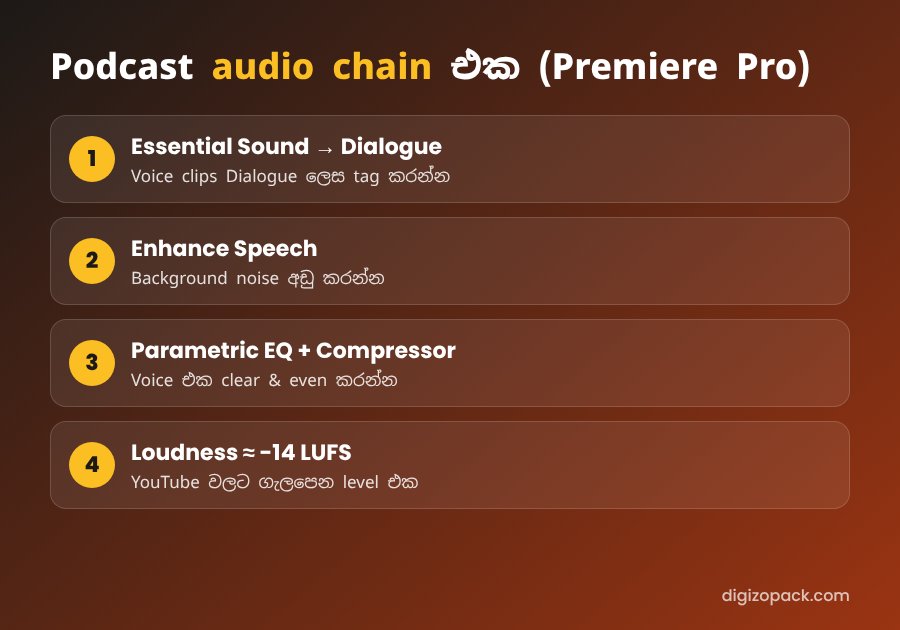
- Open the Essential Sound panel and tag the voice clips as Dialogue.
- Try Enhance Speech to reduce background noise and room echo. වැඩිපුර දැම්මොත් robot voice එකක් වගේ වෙන්න පුළුවන්, so check the mix.
- Add a Parametric Equalizer to cut low rumble, and a gentle Compressor to make the voice even.
- Finally, set the loudness to about -14 LUFS, which suits YouTube.
For music, add a short intro and outro from an audio assets pack. Keep background music very low under talking parts.
Step 5: Add captions and graphics
Captions keep viewers watching, especially on mobile. For Sinhala podcasts, Sinhala Subtitles for Premiere Pro generates the captions automatically. You can also read our full Sinhala subtitles guide.
- Add a lower third with each speaker’s name when they first appear.
- Use your logo in a corner, but keep it small.
- Add simple chapter titles for long episodes.
Step 6: Cut Shorts and Reels from the episode
One long episode can give you a week of short content. That is why clips are an important part of podcast editing in Premiere Pro.
- While reviewing, mark the 3–5 strongest moments with markers (press M).
- Duplicate the sequence and change it to a vertical 1080×1920 frame.
- Use Auto Reframe to keep the speaker in the centre.
- Add bold captions and a strong hook in the first two seconds.
Export settings for podcast videos
- Format: H.264, preset Match Source – High Bitrate.
- YouTube full episode: 1080p or 4K, same frame rate as your cameras.
- Audio-only version: export MP3 or WAV for Spotify and other podcast apps.
For more detail on these tools, see the official Premiere Pro user guide.
Common podcast editing mistakes in Premiere Pro
- Too many cuts: තත්පරයට කැමරා මාරු කරනවා නම් viewers ට මහන්සියි. Let a speaker finish a thought.
- Ignoring reactions: sometimes cut to the listener’s reaction. It makes the talk feel alive.
- Loud music: music should never fight with the voice.
- No captions: without captions, Shorts lose many silent viewers.
FAQ: podcast editing Premiere Pro
Is Premiere Pro good for podcast editing?
Yes. It has multicam editing, strong audio tools and caption features, so you can finish the full episode and the Shorts in one app.
Premiere Pro එකේ podcast එකක් auto edit කරන්න පුළුවන්ද?
Yes. Plugins such as Pod Edit automate camera switching. You still review the edit, but most of the repetitive work is done for you.
How long does it take to edit a one-hour podcast?
Manually, it can take several hours. With audio sync, automatic camera switching and automatic captions, most of your time goes to creative decisions instead.
Edit your next episode faster
Good podcast editing in Premiere Pro is about a clear workflow: organize, sync, switch, clean, caption and clip. මේ steps follow කළොත් ඔයාගේ episodes ඉක්මනින් සහ professional විදිහට ready වෙනවා.
👉 See how Pod Edit works – Premiere Pro එකේ podcast camera switching auto කරගන්න.